Method
How to apply limewash
The material is unforgiving of two things and generous about everything else. Get the surface right, and keep every coat thin. Almost every failed limewash job in existence is one of those two, and neither is difficult once somebody has told you.
This is the method we use on client walls, written out in full. No step is held back.
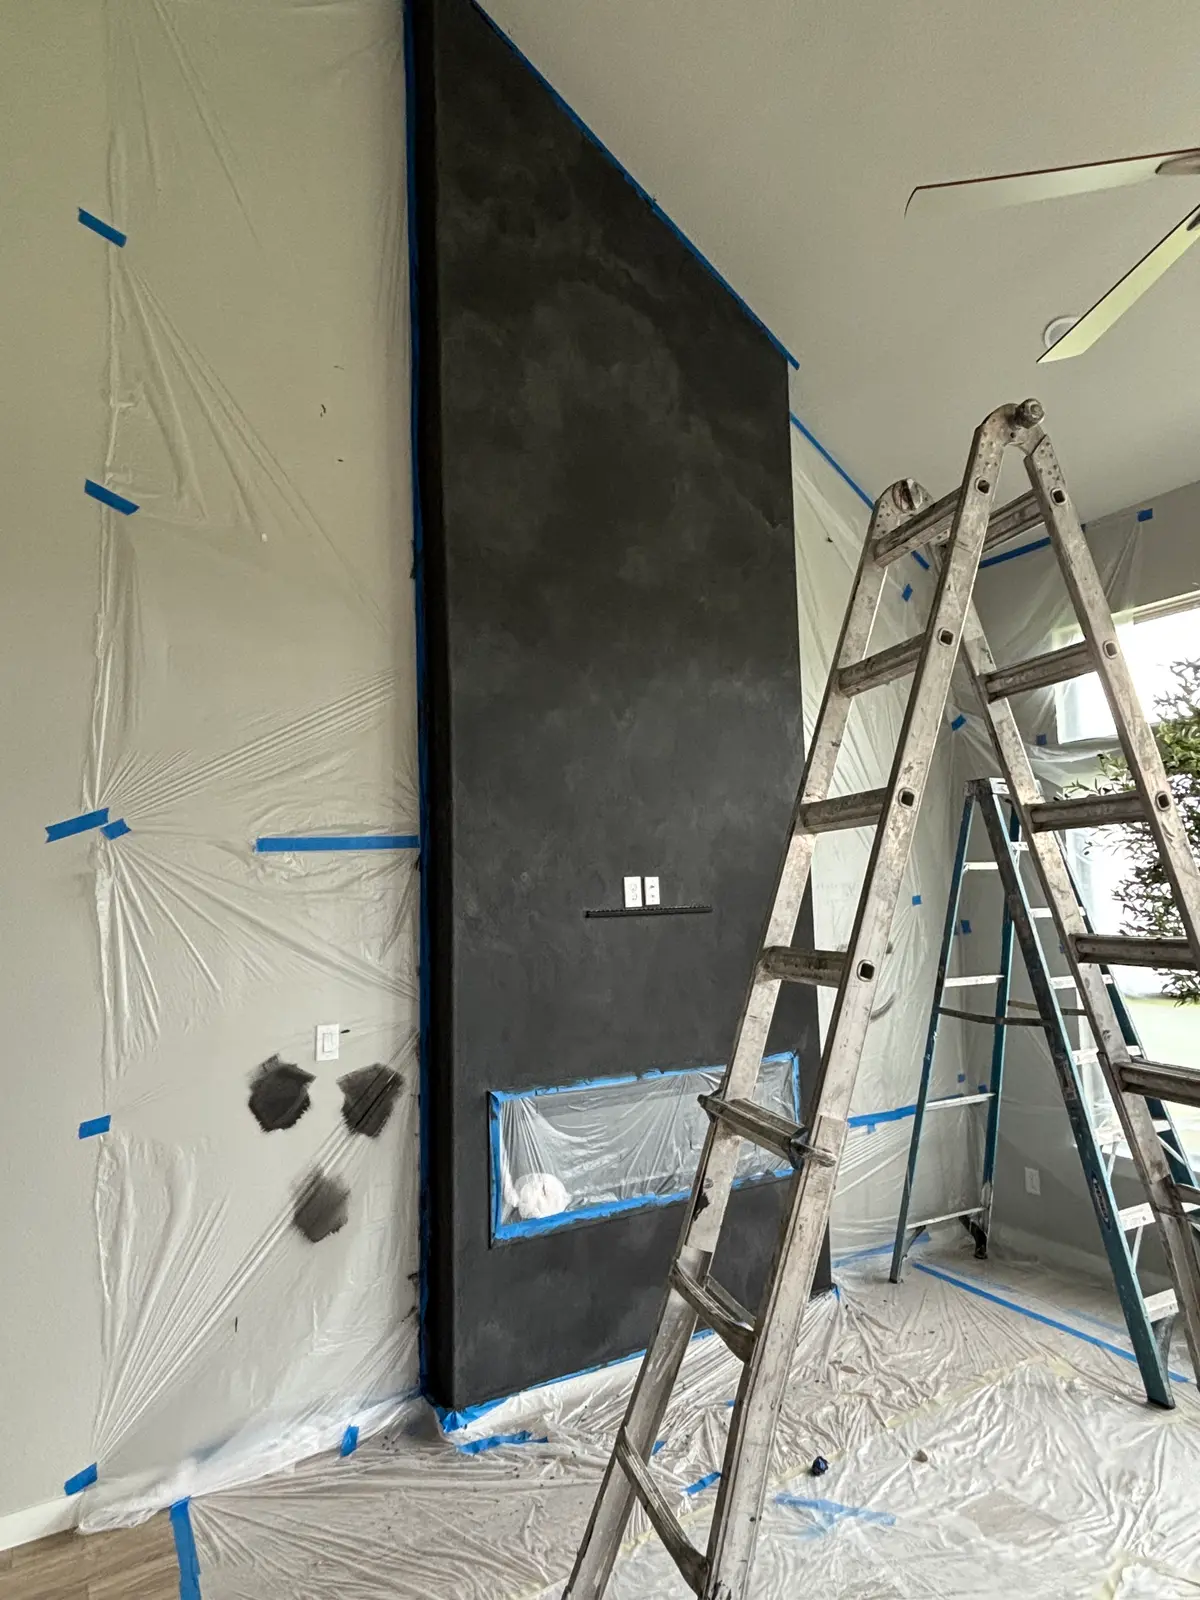
What you need
- A wide masonry or block brush — natural bristle, 4 to 6 inches. Not a roller.
- A garden sprayer for dampening the wall as you go.
- A drill and mixing paddle — lime settles hard and a stick will not get it.
- Gloves and eye protection. Wet lime is caustic. This is not negotiable.
- Clean water for thinning, and a clean bucket.
- Mineral or silicate primer, only if the surface is sealed or painted.
- Masking tape, plastic and drop cloths — more than you think.
- The limewash itself — see how much you need.
Every order of The White House Blend™ ships with the full application course, a sealed can of extra pigment already diluted, and the physical swatch we matched your colour against with a brush-out of your own material across half of it.
The method
Work out what the wall is
Limewash bonds mechanically — it keys into pores — so everything depends on what is underneath. Bare brick, stone, lime plaster and raw masonry take it directly. Painted anything needs a mineral primer or a skim coat first. Raw drywall needs a mineral primer because the paper face and the joint compound absorb at different rates and every seam will show. Run a wet finger over the wall: if the water sits in a bead, it is sealed and needs priming.
Mask more than you think you need to
Limewash is thinner than paint and it runs further. Floors, trim, glass, fixtures, and anything within splash range of the brush. It is caustic while wet — a mild alkali — so it will etch glass and dull a polished floor if it sits. Wear gloves and eye protection. This is not optional and it is the step people skip.
Prime, if the wall needs it
Use a mineral or masonry primer of the kind sold for lime and silicate systems. Its job is to leave a uniformly absorbent, slightly porous surface. A glossy acrylic primer does the exact opposite and is the single most common reason a limewash job goes patchy or lifts. Let it cure fully before going on.
Stir the limewash properly and thin it
Lime settles hard in the pail. Stir from the bottom until there is no paste left sitting there — a drill with a mixing paddle beats a stick. Then thin with clean water: roughly 20 to 30 percent for a first coat on porous masonry, less on a primed interior wall. It should look like thin cream, not paint. If it looks like paint it is too thick.
Dampen the surface
Mist the section you are about to work with a garden sprayer until it is damp but not running. A dry wall pulls the water out of the limewash before the lime can penetrate, which leaves it chalky and prone to dusting. On brick in a Texas summer you will re-wet as you move along. Work out of direct sun.
Brush it on thin, cross-hatching as you go
Use a wide masonry or block brush — natural bristle, 4 to 6 inches. Not a roller, and not a sprayer for the first coat. Work in random directions, crossing your strokes rather than laying parallel lines, and keep a wet edge so sections do not dry against each other. Limewash records the path of the brush. A regular pattern reads as a mistake; a random one reads as depth. Thin is the entire trick.
Let it dry completely, and judge the colour dry
Four to eight hours depending on humidity. It will dry dramatically lighter than it looked wet — this catches everyone out the first time, and it is worst on a large wall in natural light because lime absorbs light rather than bouncing it back. Never judge the colour while it is wet and never add a second coat to fix a colour you have only seen wet.
Second coat
Same method, usually thinner than the first because the surface is no longer bare. Two thin coats look vastly better than one heavy one. Most interiors are finished at two. Exterior brick sometimes wants three, but add them one at a time and let each dry.
Distress it, if that is the look you want
Only while the coat is still green — ten to thirty minutes on interior work, longer on damp masonry. Go back with a damp sponge or a fine hose spray and pull some of the finish back off, letting more of the substrate show through. Work it in the same random pattern you brushed. Stop earlier than feels right; it keeps lightening as it dries.
Leave it alone to carbonate
Limewash hardens by reacting with carbon dioxide in the air, not by drying. It keeps doing that for months and gets tougher the whole time. Do not wash it, do not seal it, do not put furniture hard against it for a week. On exterior masonry you have roughly five days in which a pressure washer could still take it off if you hate it — after that it is part of the wall.
The four mistakes that cause nearly every failure
1. Going straight over paint
Cured latex is a sealed plastic skin with no pores. Lime has nothing to key into, so it dusts or wipes off once cured. It is not a product fault and it happens with every genuine limewash on the market. Mineral primer, or strip it.
2. Laying it on thick
Thickness is what turns limewash into flat white paint. It stops the material moving, locks the brush strokes in place, and kills the cloudy translucency that is the entire reason to use lime. Two thin coats. Always.
3. Judging the colour wet
It dries far lighter than it looks going on, and the gap is widest on a big wall in natural light because lime absorbs light instead of reflecting it. People panic at a wet wall, add more material, and end up two shades darker and twice as thick as they wanted.
4. Working in the sun, or onto a bone-dry wall
Both do the same thing: take the water away before the lime can get into the surface. The result is chalky and dusts off. Dampen the wall, work in shade, and in a Texas summer start early.
By surface
The method above is the same everywhere. What changes is the preparation.
Brick, stone and bare masonry
No primer. Clean it, dampen it, brush it on. This is the surface limewash was made for, and the one where it lasts longest. Full detail on the brick page.
Drywall
Mineral primer first, every time, painted or raw. A skim coat if the wall is textured or patched unevenly. See limewash on drywall for what actually has to happen.
Exterior walls
Same method, more material, and weather matters. Between 45°F and 90°F, out of direct sun, and nothing within 24 hours of rain. See exterior limewash.
Wet rooms and showers
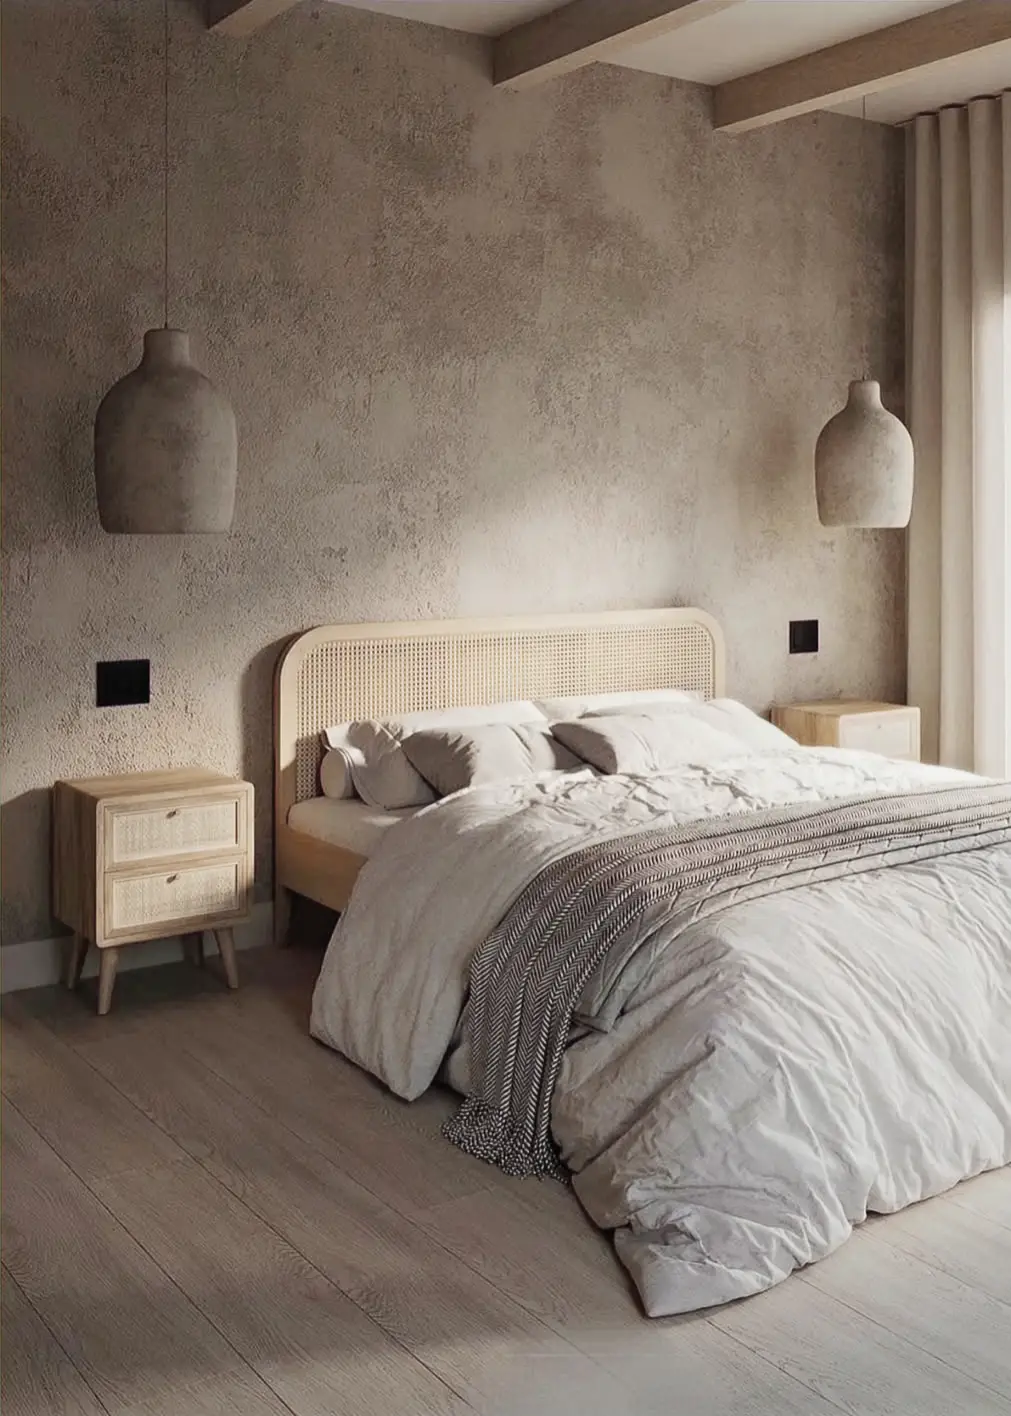
Limewash is fine in a bathroom generally — lime is breathable and alkaline, which is an advantage in a damp room. Direct water contact is the limit. A shower surround wants tadelakt, a burnished lime plaster sealed with olive soap, which is a different system entirely and genuinely waterproof.
Frequently asked
Do you brush or roll limewash?
Brush, with a wide natural-bristle masonry or block brush. A roller lays the material down in an even film with a uniform stipple, which flattens out exactly the cloudy movement people want from limewash. A sprayer can be used to get material onto a big exterior wall quickly, but it still has to be brushed out afterwards to develop the finish.
How many coats of limewash do you need?
Two, almost always. One coat is translucent enough that the substrate dominates, which occasionally is the look but usually reads as a mistake. Three is worth it on very porous or very dark bare brick. What does not work is one heavy coat instead of two thin ones — thickness is what makes limewash look like flat paint.
How long between coats of limewash?
Until the first coat is fully dry and has stopped darkening back, which is four to eight hours in normal conditions and longer in humidity. Judge by colour rather than by clock: if there are damp patches reading darker, it is not ready.
Do you thin limewash with water?
Yes. Ours ships ready to use but almost every job benefits from thinning — roughly 20 to 30 percent water for a first coat on porous masonry, less on a primed interior wall. Aim for the consistency of thin cream. Use clean water and thin the whole batch at once so the colour stays consistent across the wall.
Why does my limewash look streaky?
Usually one of three things. Applied too thick, which stops the material moving and locks the brush strokes in. Applied in parallel strokes rather than cross-hatched, which makes the pattern regular enough to read as streaks. Or applied to a dry, thirsty wall that pulled water out of it unevenly. The fix for all three is a thin, cross-hatched coat over a dampened surface.
Is limewash dangerous to work with?
It is a mild alkali while wet — caustic enough to irritate skin and to do real damage to eyes. Gloves and eye protection, always. It is not toxic and it does not off-gas, which is the entire point of the material, but wet lime deserves respect. Once carbonated it is inert limestone.
Can you apply limewash in cold or hot weather?
Between about 45°F and 90°F, out of direct sun. Below that the lime carbonates too slowly and can be damaged by frost before it hardens. Above it the water leaves too fast for the lime to penetrate, which is the common Texas summer failure. Early morning and shade, or wait for the season.
How do you fix a limewash mistake?
Within the first few days on masonry, wash it back with water and a brush and start again. On an interior wall, the usual fix is simply another thin coat — limewash is forgiving in a way paint is not, because each coat is translucent and blends into the last rather than lying on top of it. Colour too light is fixed by adding pigment, which is why every order we ship includes a sealed can of it.
Or hand it to somebody who does this every day
We apply lime finishes across Dallas and Fort Worth, Austin and Central Texas, and Palm Beach — every project sampled by hand before a wall is touched. And if you would rather do it yourself, The White House Blend™ is the same material we put on client walls, shipped free anywhere in the United States.
Who we are
Thirty seconds, then stay for the podcast.
I’m Ben Lynch. I started LimeWash Pros after reading what the EPA had published about the air inside ordinary American houses — and realizing the walls were the problem.

Meet LimeWash Pros
Who we are, what lime does that paint cannot, and why the air inside your house is the reason we do this.
The podcast
 11:33
11:33From Setback to Limewash Success: Meet Ben Lynch
Why I walked away from conventional paint, what I found in the research on VOCs, and how that turned into LimeWash Pros.
 12:10
12:10How Modern Paint is Killing You
The VOCs in ordinary latex paint don’t stop off-gassing when the wall dries. What that does to the air in your house.
 9:43
9:43The Carcinogen On Your Walls
Benzene is a known human carcinogen and it is in the paint on every surface of your home. What the research says.